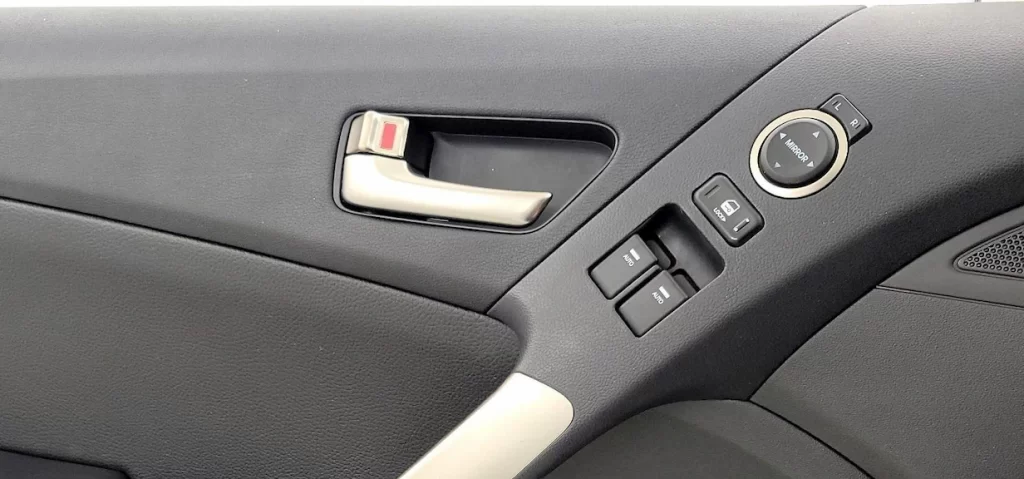
Car Door Handles Repair
since 1992. Save 40-70 % On Repairs.” Free Mobile Service “

!! One Year Warranty !!
Car Door Handle Repair Guide
Car door handles Repair is a common repair that enhances both the functionality and appearance of your vehicle. Whether the handle is broken, worn out, or simply outdated, this guide covers everything you need to know about replacing car door handles.

Common Reasons for Replacement
- Broken Handle: Handle snaps off or is visibly cracked.
- Malfunctioning Mechanism: Handle does not engage the latch properly.
- Aesthetic Upgrade: Desire to update the look of the vehicle with new handles.
- Wear and Tear: Handle becomes loose or worn over time.
Tools and Materials Needed
- Replacement door handle (ensure it matches your vehicle’s make and model)
- Screwdrivers (Phillips and flathead)
- Torx screwdriver set (if applicable)
- Socket wrench set
- Trim removal tool
- Needle-nose pliers
- Lubricant (optional)
- Clean cloth
Steps to Replace Car Door Handles
- Preparation:
- Park the vehicle on a flat surface and engage the parking brake.
- Disconnect the car battery to avoid any electrical issues.
- Remove the Interior Door Panel:
- Locate and remove any screws securing the door panel. These are usually found around the edges and behind the door handle and armrest.
- Use a trim removal tool to gently pry the door panel away from the door frame. Be careful not to damage the clips holding the panel in place.
- Disconnect any electrical connectors for power windows, locks, or speakers.
- Access the Door Handle Mechanism:
- Peel back the plastic weather barrier to expose the inside of the door.
- Locate the bolts or screws securing the door handle to the door frame. These are usually accessible through small openings in the door.
- Remove the Old Door Handle:
- Use a socket wrench or screwdriver to remove the bolts or screws.
- Disconnect any linkage or rods connected to the handle mechanism.
- Carefully pull the handle out from the exterior of the door.
- Install the New Door Handle:
- Insert the new door handle into the opening on the exterior of the door.
- Reattach any linkage or rods to the handle mechanism.
- Secure the handle with the bolts or screws removed earlier.
- Reassemble the Door:
- Reapply the plastic weather barrier.
- Reconnect any electrical connectors for power windows, locks, or speakers.
- Align the door panel with the door frame and press it back into place, ensuring all clips are securely fastened.
- Replace and tighten any screws that were removed.
- Test the New Handle:
- Reconnect the car battery.
- Test the new door handle to ensure it operates smoothly and engages the latch properly.
- Check both the interior and exterior handles for proper function.
Tips and Precautions
- Match the Handle: Ensure the replacement handle matches the make, model, and year of your vehicle for a proper fit.
- Handle with Care: Be gentle when prying off the door panel to avoid breaking the clips or damaging the panel.
- Keep Screws Organized: Keep track of all screws and bolts removed during the process to ensure nothing is lost.
- Lubricate Mechanism: Apply a small amount of lubricant to the handle mechanism to ensure smooth operation.
- Consult the Manual: Refer to the vehicle’s manual for specific instructions and diagrams related to your car model.
Conclusion
Replacing car door handles is a straightforward task that can greatly improve the functionality and aesthetics of your vehicle. By following these steps and taking necessary precautions, you can successfully replace the door handles and ensure they operate smoothly. If you encounter any difficulties or if the process seems too complex, consider seeking assistance from a professional mechanic.
